Pumpkin crafts for children are always fun in Fall. There are many great and creative ideas out there. They are all fun, but I was looking to make the easiest and most colorful as well as a craft that isn’t too messy. In this post, we share how we made this easy nail polish pumpkin craft for kids. You and your kids will love it!

Pumpkin Craft Materials
For this particular pumpkin craft for kids, we need very few materials. Isn’t that great?!
We only need:
- nail polish in different colors (I prefer the non-toxic kind)
- water
- a bowl or container where the mini pumpkin will fit (that you don’t care ruining)
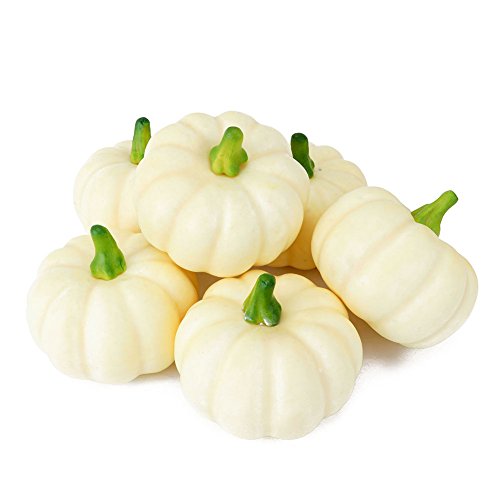
- a mini pumpkin (real or fake) with a stem
- a paper towel square
- optional: glitter in different colors
- optional: hair spray
Emosa Nail Polish – Kid and Girls Non Toxic Water Based Fast Drying Peelable Nail Polish (Set of 7)-6 Colored Bottles with 1 Top CoatPeicees 6 Realistic Fall Harvest Small Beige Mini Artificial Pumpkins for Halloween, Fall and Thanksgiving DecoratingOriginal Stationery Arts and Crafts Glitter Shake Jars, Extra Fine, 24 Multi color SetKarma Kids Box Set No. 1 – Nail Polish; Non-Toxic, Vegan and Cruelty-Free
Easy Nail Polish Pumpkin Craft for Kids
This is one of the most fun mini pumpkin crafts for kids to make because it is so easy and so creative. First, start with a bowl and fill it up with water, stopping at about 1 inch from the top. Choose the nail polish colors you want to use and sprinkle the nail polish until the entire surface of the water is covered.
Gently tap the container on the sides so the nail polish mixes a little bit. If you prefer it staying put as dots, then don’t tap it. It is all personal preference. Another option is to sprinkle some glitter on top of the nail polish. It will also stick to the pumpkin and will look beautiful.

These are such fun Fall pumpkin crafts! So now it’s where it can get a bit tricky. If you want the pumpkins to be completely covered up to the top, then use a bigger container and more nail polish. We only wanted the bottom half decorated, so we used this particular bowl size.
Have the child hold the pumpkin by the stem and dip it into the nail polish and water mix. When dipped, the nail polish will stick to the pumpkin. Take out of the bowl, turn it over and lay on a paper towel to dry completely. It might take about an hour or so.

I love these pumpkin crafts for kids! All of them will look different and unique! Once the pumpkin is dry completely, lightly spray the surface with some hair spray to seal it. That’s it! Use these fun crafts to decorate your home or to give as gifts. We made some in our Art homeschool co-op class and the kids really loved making them!
Are you ready to make pumpkin crafts with your kids?

Thank you for visiting our Easy Nail Polish Pumpkin Craft for Kids post!
You might also like:
Some of Our Favorite Pumpkin Books & Simple Pumpkin Craft

Quick and Easy Pumpkin Recipes and Crafts

Fall Crafts with Corn, Pumpkins & Turkeys & Printable Activity Coloring Pages


Leave a Reply