When you think about Montessori, you should immediately think “hands-on,” right?
Well, when you think about Montessori Science, it should be no different.
When you are following a Montessori Science curriculum 3-6, you will find that it is one of the subjects that you need to make some of your own materials.
It applies to all branches of Montessori Science that you go through: Botany, Zoology, Earth Science, etc.
In this post, we will be talking about the plant life cycle for kids that is interactive and hands-on.
Instead of getting a plant life cycle worksheet, why not make an easy felt craft?

Let me start out by telling you something that should calm you down.
You don’t have to love making craft projects or be gifted in the crafts department.
This easy felt craft is not only quick to make, it is inexpensive and it is very educational.
So, let’s make a soybean life cycle felt craft!
In case you are wondering what the beautiful 3-part cards are, well, they are part of the Soybean Plant Life Cycle bundle.
I love using it for nomenclature, sequencing and so much more!

Never miss a thing! Sign up to receive our weekly email:
You will need:
- a pair of fabric scissors
- a sheet of blue felt (for the sky)
- a sheet of brown felt
- a sheet of green felt
- a sheet of tan felt
- a sheet of purple felt (I used 2 in light and dark purple, but you can only use one)

Step 1: Set up your background.
Felt projects can be daunting, but this is is very easy.
I will break it up into simple steps.
It only involves felt. No sewing or gluing.
It’s awesome that it can double up as a Montessori Practical Life activity if you do it with the children.
Place the blue felt and brown felt to make the sky and dirt.

Step 2: Seed and primary root.
The cycle starts with a seed, so we’ll do that first.
Use a little tan felt to cut the shape of a seed.
Then cut a small piece of green for the primary root.
Place the seed about half an inch into the brown felt, below the blue felt, like the seed is planted in the ground.
The primary root goes below the seed.

Step 3: Grow the primary root with secondary roots.
These are important parts of a plant, so be sure to include both.
Cut a bigger piece of green felt (about 3×1 inches long).
Out of that rectangle, start to cut pieces off to leave some roots sicking out (see picture above).
Place it below the small primary root you had from Step 2.

Step 4: Embryo
That is the small young plant that first germinates out of the seed.
Remember that these are the steps for making the craft, not the stages of the plant.
Cut out a small leaf.
This will represent the new plant that is about to grow and produce.

Step 5: Stem and leaves
How is your craft going so far?
The Montessori Method is such a great one to follow.
The reason why we don’t sew the pieces on or glue them on is so children can use all of the pieces to build this soybean plant life cycle.
Let’s move into the actual plant, ok?
Once the embryos grows, it develops a stem and some new leaves.
Cut a piece of green felt about 4 inches tall and out of it, cut a stem and some leaves attached.
I carved three leaves, but it’s ok if you only cut two.
Place this part of the plant on the blue felt above the seed.

Step 6: Larger stems and leaves
Use the rest of the green felt sheet and cut out stems and leaves like the picture above.
Try your best to make it all out of one piece, if possible.
I know it can be tricky.
You can eyeball it or use a pencil to sketch the stems and leaves.
This will make it easier for the children to put the soybean life cycle together, piece by piece, without having too many loose parts.
This larger piece goes above the young plant (with stem and two or three leaves only).

Step 7: Flowers
Like I mentioned on the materials list, you can make the felt flowers out of just one color felt or use two different shades, like I did.
This is completely optional.
The easiest way to cut out the flowers is by cutting out squares out of the felt.
Then, fold the felt in half and cut the petals out of the square.

Step 8: Seed pods
The soybean seed pods are easy.
Think about peas in a pod and you will be on the right track.
These are cut out of light tan, just like the seed.
I cut out the long, slightly bumpy pods to fit the plant, but not overpower it.
So, for my plant, four seed pods was enough to show that the plant produces them.

Step 9: Labels
This is optional, but highly recommended.
You can make labels for all of the parts of the plant and show the plant life cycle.
Or you can get them from the soybean life cycle bundle.
Read more about it here or keep reading on!
If you have been looking for hands-on and educational activities about the life cycle of a plant, then this is exactly what you need!
This is an amazingly fun and thorough plant life cycle worksheets and activity set that you and your kids will love.
Life Cycle of a Plant
It makes your life easier because learning is easy and your kids will love it because learning is tangible!
Kids can tell when they are learning and you know that success is simply an mazing way to boost self-confidence.
Another way to grow self-esteem is independence.
These activities can be done alone or as a group.
This printable plant life cycle bundle has 11 separate activities.

Printable Plant Life Cycle Bundle
You can use them all together to build on each other or use them as educational time-fillers.
Download and print this soybean plant life cycle for kids in color, put it together in about 20 minutes and you are ready to get started!
-
Sale!
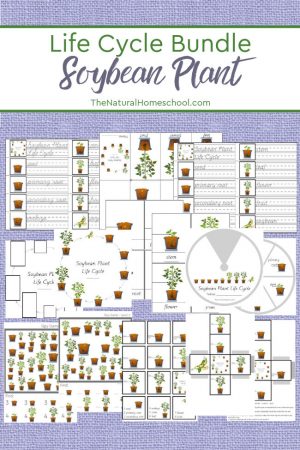
Soybean Plant Life Cycle for Kids ~ Printable Bundle
$5.99$2.99 Add to cart -
Sale!
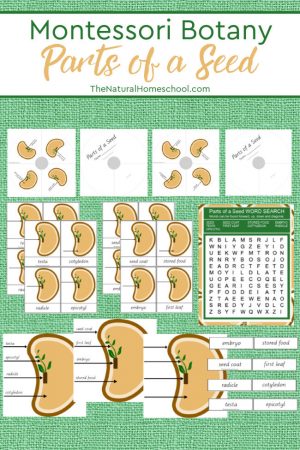
Montessori Parts of a Seed Printable Bundle
$5.99$2.99 Add to cart -
Sale!
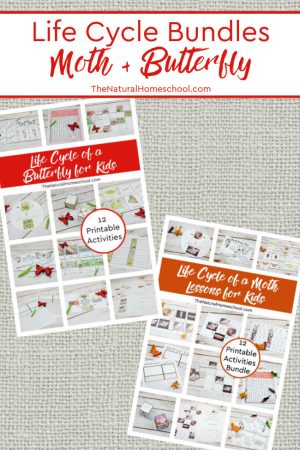
Life Cycle of a Butterfly and Moth for Kids ~ 24 Printable Activities Bundles
$30.00$14.99 Add to cart -
Sale!
Frog Life Cycle Activities by Levels
$3.00$1.00 Add to cart -
Sale!
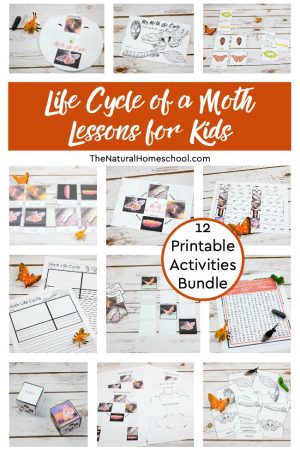
Moth Life Cycle for Kids ~ 12 Printable Activities Bundle
$15.00$9.99 Add to cart -
Sale!
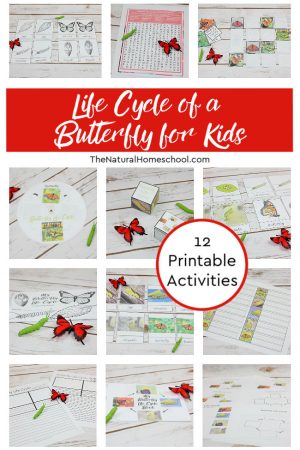
Life Cycle of a Butterfly for Kids ~ 12 Printable Activities Bundle
$15.00$9.99 Add to cart
Latest Posts
- Levelling Up Your Career
 Levelling up your career is a lot easier if you pay attention and follow these four easy steps.
 - Craft Activities for Kids ~ Paper Weaving Projects
 In this post, we are looking at some really fun paper weaving projects that your kids will find a lot of fun!
 - Inspired by Montessori Curriculum for Toddlers PDF (225 pages)
 Let’s be completely honest for a minute, guys, in regards to the best Montessori curriculum for toddlers PDF. I think we can all agree that homeschooling a toddler or having a toddler at home while we homeschool our older kids can be as easy or as daunting as you want…
 - Online Learning Takes a Stand Against Traditional Educational Methods
 Online Learning Takes a Stand Against Traditional Educational Methods
 - The Benefits of Involving Children in Household Tasks
 Household tasks can bring many benefits to your children and family as a whole. In today’s fast-paced world, teaching children responsibility and essential life skills is more important than ever.
____________________________________________________________________________________________ ____________________________________________________________________________________________
 Sale!
Sale!
Work with Me! Personalized Coaching Sessions (Montessori & Homeschool)
$75.00 $50.00
Do you need homeschool or Montessori at home coaching?
We customize a package that will help YOU the most, but this is our most popular package:
Take advantage of my 15 years of experience in the Montessori philosophy and 10 years of homeschooling.
1 A 30-minute video (or phone) call via Zoom for a 100% personalized “in-person” coaching
It will be recorded and the link will be sent via email within 24 hours for further review.
Once you purchase the coaching session HERE, I will contact you to set up a time that works for both of us.
2 An email prior to coaching call detailing what questions, concerns, issues need to be addressed.
This helps with maximizing face-to-face time for actual practical implementation tips.
3 Any prior recommendations from my online shop (ebooks, etc,) are included
4 A follow-up email within 24 hours of the video call, detailing what was discussed, steps to take, any additional recommendations from my online shop (again, also included in the package).
5 A second follow-up email/contact 1-2 weeks after the video coaching call to see how client is progressing and to see if another video call needs to be scheduled


Leave a Reply