We started a new year of History studies. This is our fourth year to be formally learning this beautiful subject. Since we subscribe to the wonderful Classical Education method, we like to study the history of man in cycles: Ancient, Medieval, Modern. We focus on one cycle per year. Since this is the 4th year of History, we started with Ancient History again.
In this cycle, we started with learning what History and Anthropology are. After we learned that, we were ready to go into our Ancestry Family Tree. In this post, you will see how we studied about genealogy, family trees and how we can find information about our ancestors by researching and asking questions (interviewing).
We LOVE our History curriculum! It is called Story of the World. In it, we learned about families and how we are all connected to each other, somehow. We all have a mother and a father, we all have grandparents and ancestors from the beginning of humanity.
When it was time to make our immediate family tree, I came up with the idea to make it more than a paper-and-pencil activity. I took advantage of this to take out paints and sponges! For this craft, you will need: a pencil, a giant post-it notes, tacky glue, washable paints (several shades of green, blues, white and brown) and sponges.
To begin with these Ancestry Family Tree crafts, we hung up the post it sheets on the wall and used a pencil to lightly trace as big a tree as we can. Then we mixed 4 shades of green in a bowl and handed my children sponges. While they focused on their greens, I was mixing the blues and white for the sky. The brown went on its own for the trunk.
Sister liked the “splat” technique for her tree. She would go “splat, splat, splat” on the paper with the sponge until she covered the entire tree area. Brother, on the other hand, he preferred the “swipe” technique with his sponge. You can see the difference in textures in the pictures above.
While our trees dried, we read a few books about family trees, including there 3 volumes that my dad put together of his side of the family tree. Our favorite family tree book helped us see how the family tree is drawn. We talked about immediate family and made our tree simple.
We went with both sides of grandparents, parents and children. We simply got one sheet of paper and cut it into 8 squares: paternal grandfather, paternal grandmother, maternal father, maternal grandmother, father, mother, son and daughter.
Once the Ancestry Family Tree was dry, we used tacky glue to paste the family members onto the tree. You can also use thin double-sided tape. Then with a permanent marker, we connected the family members to create the family tree. Done! It looks awesome! The family members that my children drew were made with pencil, so they are hard to see. Next time, we will make them bigger and color them.
And now, to find out more about our family! Story of the World has a couple of copies about our family history. It was adorable watching my 6-year old interview my dad, asking him about when and where he was born, what his favorite childhood memories were, how he grew up, etc.
For this lesson, I copied the sheets twice, but we can obviously interview more family members overtime. As of now, he decided to interview my dad and my husband’s dad. His paternal grandfather wasn’t available, so he interviewed my husband. It was so much fun! He discovered that my husband has 2 middle names. 😀
Ancestry Family Tree
Thank you for reading our Ancestry Family Tree {Crafts & Family Interviews} post!
You might also like:
Montessori-Inspired: The History of Time Measurement {Free Printables}
Teach Ancient History (& so much more) with Games, Timeline & a Thesaurus
Montessori Culture (History): Family Tree
What to do today… Our Typical Homeschool Day Schedule
____________________________________________________________________________________________ ____________________________________________________________________________________________
 Sale!
Sale!
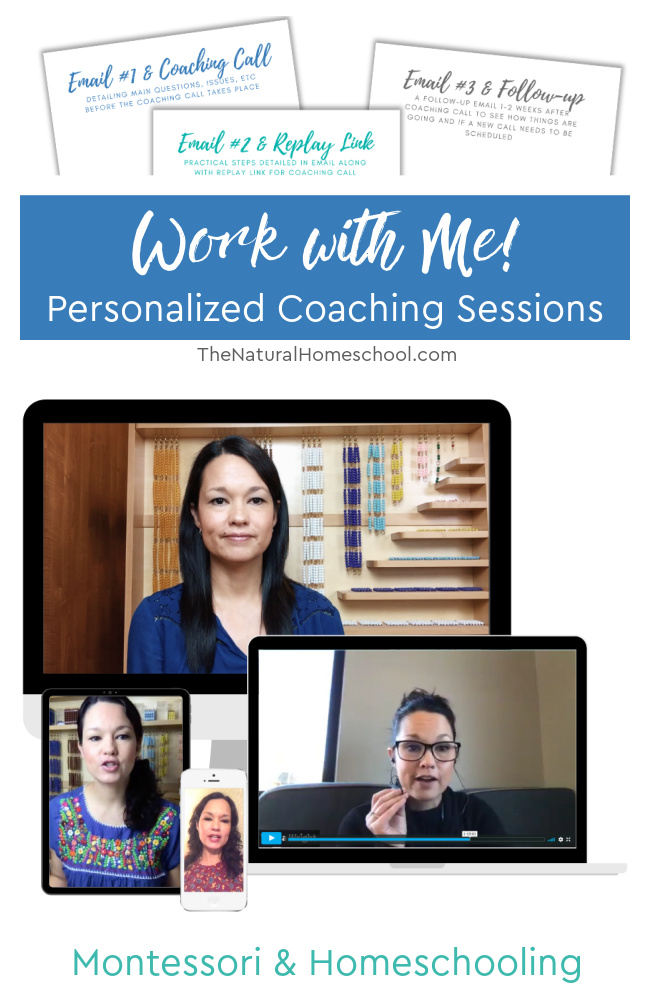
Work with Me! Personalized Coaching Sessions (Montessori & Homeschool)
$75.00 $50.00
Do you need homeschool or Montessori at home coaching?
We customize a package that will help YOU the most, but this is our most popular package:
Take advantage of my 15 years of experience in the Montessori philosophy and 10 years of homeschooling.
1 A 30-minute video (or phone) call via Zoom for a 100% personalized “in-person” coaching
It will be recorded and the link will be sent via email within 24 hours for further review.
Once you purchase the coaching session HERE, I will contact you to set up a time that works for both of us.
2 An email prior to coaching call detailing what questions, concerns, issues need to be addressed.
This helps with maximizing face-to-face time for actual practical implementation tips.
3 Any prior recommendations from my online shop (ebooks, etc,) are included
4 A follow-up email within 24 hours of the video call, detailing what was discussed, steps to take, any additional recommendations from my online shop (again, also included in the package).
5 A second follow-up email/contact 1-2 weeks after the video coaching call to see how client is progressing and to see if another video call needs to be scheduled


Leave a Reply