Land, water, air… beautiful concepts to learn as a young child.
They make up our world (in the simplest form possible) and children generally do show an intense interest in these lessons because they are trying to make sense of their world at this age.
Here, we bring you three fun lessons on land, water and air that are Montessori-inspired.
I have included two awesome FREE Montessori at home themed printables for you! Enjoy!
As you gather your materials, you will realize that these activities are so easy to do and are loaded with educational concepts.
You can also expound on these activities!
You can go outside to find land, water and air in different places as you go on a nature walk or head to the park.
You can even visit the local library to find books that talk about land, water and air.


Love Montessori?
Check out our new Montessori home! MasterTheMontessoriLife.com and Shop.MasterTheMontessoriLife.com have everything you need to be successful in your Montessori journey, no matter where you are. If you just heard about it and are curious, have just started or are a seasoned Montessori veteran, you will LOVE what we have going over there!
Go check it out and tell your Montessori friends!


Activity #1: Land, Water and Air Jars
For our first activity, we took three mason jars with lids and put some dirt in one, some water with blue food coloring and the third one was left empty.
Then we took the laminated “land, water and air” cards (from our free printable activity #3 in this post) and labeled each mason jar correctly.
It was a simple activity that made land, water and air more tangible for my children. Fun and easy, right?
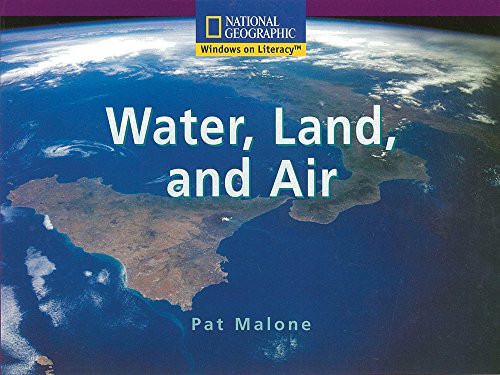
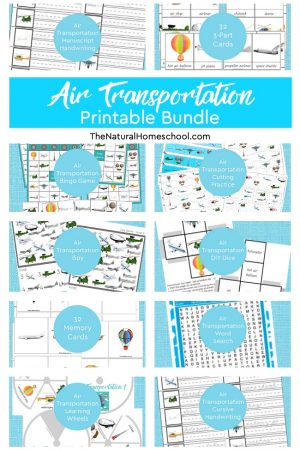
Windows on Literacy Early (Science: Earth/Space): Water, Land, and Air Travel by Air, Land, and Water (42 Stickers, 2-1)
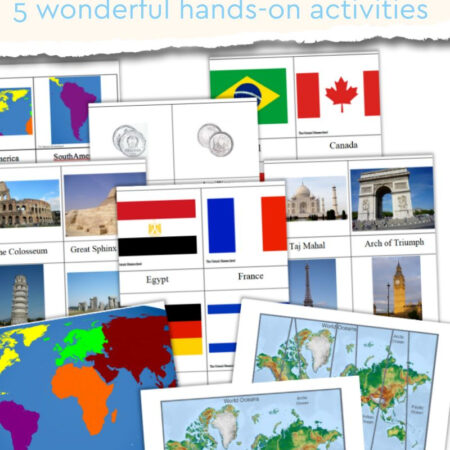
 Montessori Sandpaper Globe of Land and Water
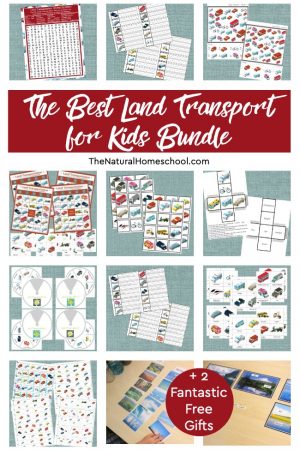
 Land Water Air Match – Safari and Farm Animals –
&
Activity #2: Sorting Land, Water and Air
This activity was very engaging for my children and extremely easy for them to collaborate with each other.
First, I made sure I had this activity printed in color (highest quality), laminated with a good-quality thermal laminator and cut with either precision scissors or a guillotine the day before.
Once this activity is ready, they took the name cards “land,” “water” and “air” and placed them about arm’s length on our favorite table from where they were sitting.
Next, they had a stack of mixed images of land, water and air that they took turns sorting into the correct categories.
There are 18 cards total, so each one had nine opportunities to practice this activity.
This is also a great activity for one child. My 3-year old successfully did this activity on her own several times in the following days.
I like the versatility of such a deep yet simple set of cards.
My children are certainly enjoying them alone or in collaboration with each other. This work can be done on a table or on a mat on the floor.
To print these cards, go here: Land, Water, Air Sorting Activity (Small Images).
READ ON!
&

Activity #3: Labeling Land, Water and Air
This labeling activity really brought all three concepts (land, water and air) together for my children. It pretty much helped them master the concepts.
Just like the last activity, I printed these cards and labels in color, I used a thermal laminator and precision scissors to cut them all.
This set contains five landscape images and six sets of labels (18 total) of land, water and air. I set an extra set just in case the small labels get lost.
I liked having five images because I used one for the presentation on how to use the three labels and then each of the children got two images to label each.
Presentation: I placed one image in front of them on the table and selected one label for land, one label for water and one able for air. I pointed to the land in the picture and then pointed at the labels that said “land.”
I read it slowly, “l-l-l-and. land.” Then I placed the label on the piece of land in the picture. Then I did the same with “w-w-w-ater. water” and “ai-r. air.”
Once I was done with my presentation, I left the labeled image on the table where they could see it. You could choose to let children take turns labeling their images, but mine were so eager to label their own, that they were doing them quietly and simultaneously.
It was beautiful. It was orderly. It was brining the lesson home (in their heads). When they were done, we marveled at each labeled image and how beautiful those landscapes are.
Then they switched images and proceeded to label those on their own as well.
This work can be done on a table or on a mat on the floor.
To print this set, go here: Land, Water, Air Labeling Activity (Large Images).

I really hope you enjoyed this lesson and that you go visit our lovely ladies sharing more Geography posts with you!
Click HERE to take a look! You will be amazed at how many ideas you will get!
January was Practical Life month. Click HERE to see all of our Practical Life posts.
February is Geography month. Come back every month to get more ideas! Don’t miss a thing! Sign up to receive our emails reminding you to come look. 🙂
Natural Beach Living ~ The Natural Homeschool ~ Living Montessori Now
The Kavanaugh Report ~ Mama’s Happy Hive ~ Study at Home Mama ~ Child Led Life
Every Star Is Different ~ Grace and Green Pastures ~ The Pinay Homeschooler
____________________________________________________________________________________________ ____________________________________________________________________________________________
 Sale!
Sale!
Work with Me! Personalized Coaching Sessions (Montessori & Homeschool)
$75.00 $50.00
Do you need homeschool or Montessori at home coaching?
We customize a package that will help YOU the most, but this is our most popular package:
Take advantage of my 15 years of experience in the Montessori philosophy and 10 years of homeschooling.
1 A 30-minute video (or phone) call via Zoom for a 100% personalized “in-person” coaching
It will be recorded and the link will be sent via email within 24 hours for further review.
Once you purchase the coaching session HERE, I will contact you to set up a time that works for both of us.
2 An email prior to coaching call detailing what questions, concerns, issues need to be addressed.
This helps with maximizing face-to-face time for actual practical implementation tips.
3 Any prior recommendations from my online shop (ebooks, etc,) are included
4 A follow-up email within 24 hours of the video call, detailing what was discussed, steps to take, any additional recommendations from my online shop (again, also included in the package).
5 A second follow-up email/contact 1-2 weeks after the video coaching call to see how client is progressing and to see if another video call needs to be scheduled


kimberly says
Love it 🙂 Such sweet pictures too
Renae says
I just love “land, Air, & Water” activities! They’re always so much fun! Your printables are beautiful!
Jennifer says
LOVE! We just did our land-water-air presentation, I’ll have to link back to these awesome printables! Thanks for sharing!
Marie says
What a fun project! I love seeing your kids on your blog. They are always so engaged. thanks for the printables!
Elaine Goh says
I’m always so amazed at how easy toddlers can get these concepts. We introduced the land, water and air activity to my toddler too, after the continent globe, and he loved it!
Jae says
Great! Will have to remember this as we’re doing this soon!
Bess says
The free printables are wonderful. Thank you. And as always, your children are absolutely adorable!
Vanessa says
I can’t wait to do this land, air, and water study with Little Bee! I will come back and use your printables when he is ready. Thanks for outlining how to demonstrate this activity to the child.
Nik says
I’ve been looking for something like this! Thank you so much for sharing!