My youngest daughter is only three and a half years old. She is such an exceptional explorer and analyzer of details. She loves to study things and objects.
She likes to do things herself. Because of these things and more, I decided to combine both Classical Education and Montessori for her Language Arts lessons.
We used Memoria Press’ beginning phonics, reading and printing curriculum called First Start Reading.
I thought I could use it with my oldest (5 years old), but when it arrived, I realized that Book A would be perfect to try with my very alert and very advanced 3-year old instead. Here is what we did.
Starting Print
She was very excited to be a big girl and learn how to formally write letters. She knows all of her alphabet and the letter sounds.
We have been doing different activities to expose her to letters, sounds and how the letters make words, but it wasn’t until now that we actually started formal printing practice.
Was she ready for it? Absolutely! She loves every minute of it!
Learning Handedness & Print
In our experience, it was an educational one all around. First of all, I was almost 100% sure that my daughter is left-handed because she favors it, but she still uses both at all times.
First Start Reading gave us an opportunity to find out with a bit more certainty which hand is most likely her dominant one. The first lesson was a very defining one in a few areas. The first one was handedness.
I let her practice writing letters with both hands on lined paper that is age-appropriate.
We would then discuss which one was more comfortable to write with and which letters looked nicer and more legible. We both agreed that writing with her left hand looked and felt more natural and that her printed letters looked better.
Next up: pencil and pencil grip. Since she was young, she figured out how to use the correct pencil grip because of all of the fine motor skills activities that she was interested in. The pencil grip was an easy and short mini-lesson.
Third mini-lesson: tilting the paper to write. Now that we confirmed that she is left-handed, we could now determine which way to tilt her paper.
That was easy and she was excited to tell a difference on how much more comfortable it was to print when the paper was slightly tilted.
Lastly, we tried both the regular pencil and the primer pencil. One is thin and the other is thicker. I let her print a few letters using each and we came to the conclusion that it was easier to write with the primer pencil.
It is the only pencil we use now. We will reassess in a few months to see if it is easier for her to print with a regular pencil, but as of now, we are happy with this one.
How We Combined Classical & Montessori at home
As you may know, Montessori uses sandpaper letters to teach print, using a sensory approach. While we learned print using our classical books, we included the sandpaper letters to our daily activities.
I could definitely see a difference in her learning of the letters and how she was tracing them.
Additionally, when it applied, we used our farm animals 3-part cards (also a Montessori approach AND a free printable to you) to offer an additional visual to establish a connection between letters, words and images.
Take ram, for example. To make it even more palpable, we used miniature animal replicas.
All in all, I can definitely see how, for this subject and for this age group, the Classical education approach goes very well and complements the Montessori approach.
I highly recommend delving more into this option for your homeschools, if you so desire.
Join our awesome FB community!
____________________________________________________________________________________________ ____________________________________________________________________________________________
 Sale!
Sale!
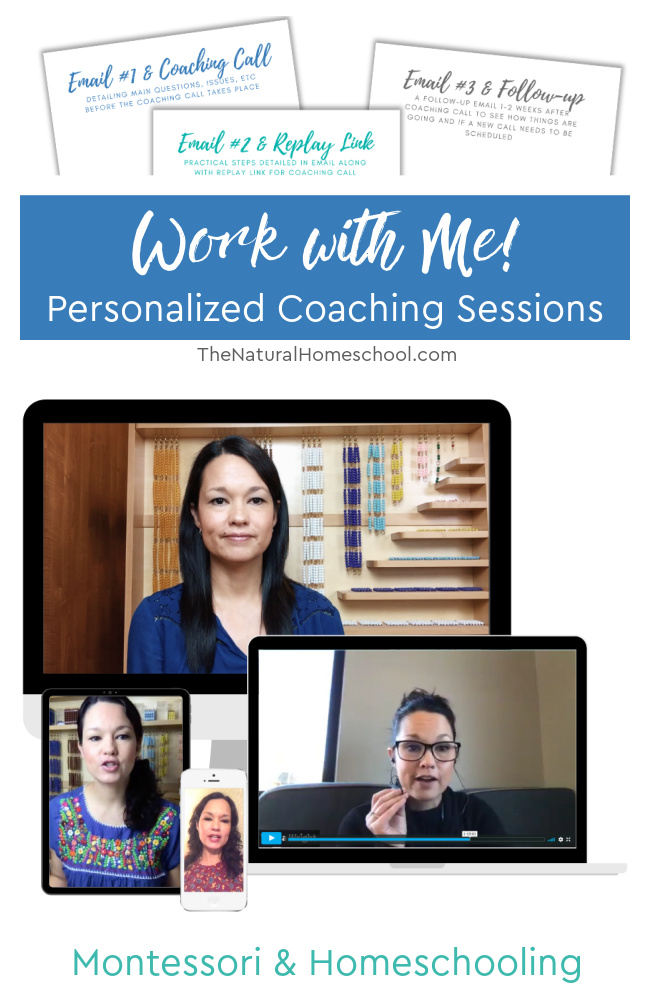
Work with Me! Personalized Coaching Sessions (Montessori & Homeschool)
$75.00 $50.00
Do you need homeschool or Montessori at home coaching?
We customize a package that will help YOU the most, but this is our most popular package:
Take advantage of my 15 years of experience in the Montessori philosophy and 10 years of homeschooling.
1 A 30-minute video (or phone) call via Zoom for a 100% personalized “in-person” coaching
It will be recorded and the link will be sent via email within 24 hours for further review.
Once you purchase the coaching session HERE, I will contact you to set up a time that works for both of us.
2 An email prior to coaching call detailing what questions, concerns, issues need to be addressed.
This helps with maximizing face-to-face time for actual practical implementation tips.
3 Any prior recommendations from my online shop (ebooks, etc,) are included
4 A follow-up email within 24 hours of the video call, detailing what was discussed, steps to take, any additional recommendations from my online shop (again, also included in the package).
5 A second follow-up email/contact 1-2 weeks after the video coaching call to see how client is progressing and to see if another video call needs to be scheduled


Leave a Reply