Have you heard about the Montessori Sensorial materials?
They appeal to the senses in eight different ways: Visual (eyes), Olfactory (nose), Auditory (ears), Gustatory (mouth), Tactile (touch), Stereognostic (muscle memory), Baric (weight and pressure), Thermic (temperature).
In this post, I am introducing the Binomial Cube, which is a visual and tactile work.
You will see a step-by-step presentation and even a free printable for you!
I hope you enjoy it as much as we do! It is our favorite work right now.

 Binomial Cube
The Binomial Cube consists of eight pieces: one red cube, three red and black prisms, three blue and black prisms and one blue cube. There are two levels to building the Binomial Cube. Click on the image below for more information.
INTELLITOYZ Montessori wooden Binomial Cube for maths PLUS 3 sheets
Love Montessori?
Check out our new Montessori home! MasterTheMontessoriLife.com and Shop.MasterTheMontessoriLife.com have everything you need to be successful in your Montessori journey, no matter where you are. If you just heard about it and are curious, have just started or are a seasoned Montessori veteran, you will LOVE what we have going over there!
Go check it out and tell your Montessori friends!


Presentation
1. The child gets the binomial cube from the shelf and places it in front of him/her on a table or on a mat (on the floor).
2. Slowly, take the binomial cube apart, piece by piece. Set them on two columns. One column has all the prisms with red and red cube. The second column has all the prisms with blue as well as the blue cube.
3. Set up the binomial cube lid by the prisms and cubes. The cube building will take place on the lid, one layer at a time. One tip to remember is: “red touches red,” “blue touches blue,” “black touches black.”
4. For the first layer, start with the red cube. Place it on the red square. On either side of the red square, there are black rectangles.
5. Take a prism with red and black. Turn it sideways so that the red side touches the red cube and the black sits on the black rectangle on the lid. Do the same with the other red and black prism and place on the second open side on the red cube.
6. The only spot left open is the one with black on either side and blue on the lid. Take one prism with blue and black and place it vertically there.
7. The first layer is done! Take it and slowly place the first layer in the box.
8. For the second layer, start with the blue cube and place it on the lid. On either side of the blue cube, you will see a black rectangle on the lid.
9. Take one black and blue prism and turn it sideways so that blue touches blue and black touches black.
10. There is one spot left on the lid and that is a red square. The red and black prism goes there because the red touches the red and the black touches the black.
11. The second layer is done! Slowly, move that layer from the lid and place it on top of the first layer.
12. Close the box and place the lid back on the box.
An extension is to build the cube using a blindfold.
Focus
Direct objective: To effectively build the binomial cube.
Indirect objective: An introduction to algebra.
Ages: It is recommended to start at 3 years of age, but I started a few months early with both of my children. I did find that the binomial cube interest has peaked at 3 and 5 years of age.
Video
Other Great Montessori at home Resources
Montessori Binomial Cube Montessori Trinomial Cube
 CafePress – Binomial Cube Toddler T-Shirt – Cute Toddler T-Shirt,
&
Free Printable Binomial Cube

I have made a free printable of the binomial cube for you to use. You can always buy the classic Montessori Binomial Cube, but I made this free printable as an option for those that are frugal and want to try it out before buying.
Setup:
1. Print the set once in color on white cardstock and then page 2 is printed twice.
Make sure you have printed the lid, one red cube, one blue cube, three red and black prisms and three blue and black prisms.
2. Cut the lid, the 2 cubes and the 6 prisms.
3. Use tacky glue to put the cubes together. I do not recommend glue sticks or white glue.
4. Have fun following the presentation steps (above) to build the binomial cube.
Get your FREE Printable Binomial Cube Set here.
-
Sale!
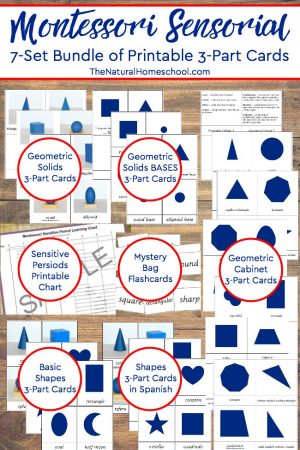
Montessori Sensorial 7-Set Bundle of Printable 3-Part Cards
$15.00$5.99 Add to cart -
Sale!
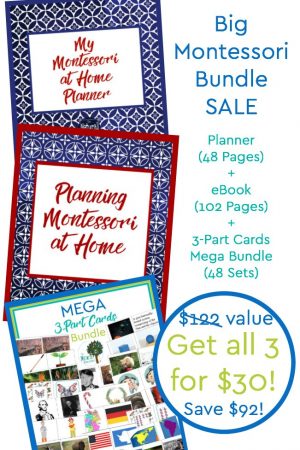
Montessori at Home SUPER MEGA Printable Starter Bundle
$121.99$39.99 Add to cart -
Sale!
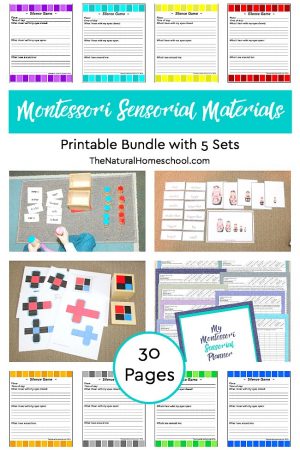
Montessori Sensorial Materials Printable Bundle with 5 Sets
$10.00$5.99 Add to cart -
Sale!
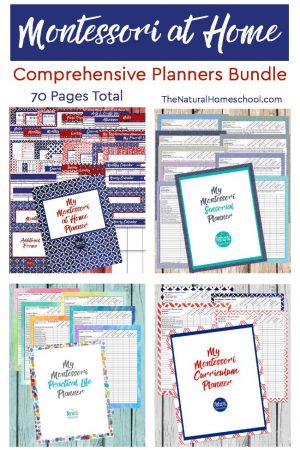
Montessori at Home Comprehensive Planners Bundle ~ 70 Pages
$45.00$24.99 Add to cart
Introduction to Algebra
Click on the image to see what one of the extensions will be when the child is ready for more.
Come visit more posts about Montessori Sensorial!
Amazing blogs involved in the 12 Months of Montessori Learning
Natural Beach Living ~ The Natural Homeschool ~ Living Montessori Now ~ Planting Peas
The Kavanaugh Report ~ Mama’s Happy Hive ~ Study at Home Mama ~ Child Led Life
Every Star Is Different ~ Grace and Green Pastures ~ The Pinay Homeschooler
____________________________________________________________________________________________ ____________________________________________________________________________________________
 Sale!
Sale!
Work with Me! Personalized Coaching Sessions (Montessori & Homeschool)
$75.00 $50.00
Do you need homeschool or Montessori at home coaching?
We customize a package that will help YOU the most, but this is our most popular package:
Take advantage of my 15 years of experience in the Montessori philosophy and 10 years of homeschooling.
1 A 30-minute video (or phone) call via Zoom for a 100% personalized “in-person” coaching
It will be recorded and the link will be sent via email within 24 hours for further review.
Once you purchase the coaching session HERE, I will contact you to set up a time that works for both of us.
2 An email prior to coaching call detailing what questions, concerns, issues need to be addressed.
This helps with maximizing face-to-face time for actual practical implementation tips.
3 Any prior recommendations from my online shop (ebooks, etc,) are included
4 A follow-up email within 24 hours of the video call, detailing what was discussed, steps to take, any additional recommendations from my online shop (again, also included in the package).
5 A second follow-up email/contact 1-2 weeks after the video coaching call to see how client is progressing and to see if another video call needs to be scheduled


Elaine Goh says
Oh wow, LOVE THE PRINTABLE!! It looks totally awesome! SHARING!!
kimberly says
This is awesome! I love how you shared each step 🙂
Bess says
The binomal cube is one of my favorite materials and you certainly did it justice. I love the free printable. That is brilliant!
Jae says
Yehey! Thank you for creating this. Answered my curiosity about this material. 🙂 Love it! Will use your printable when I have decided to get one.
Vanessa says
I agree! That printable is SO cool! This is a great resource for coming back to when Little Bee is ready for the Binomial Cube. 🙂
Glori says
Excellent idea. I wonder if you or someone else has made a printable template for the trinomial cube as well. Going for frugal alternatives. thank you
Maki says
Does anyone know why the second page won’t print for me? The first and last pages print fine, but the second one always comes out blank.